Are you ready for a fun DIY project? This guide will teach you how to make a Water Weenie, a classic tube-shaped toy that uses pressurized water for endless hours of entertainment.
This DIY project is perfect for anyone looking to create a safe toy for kids or an exciting backyard activity that’s both inexpensive and easy to make. Not only will you enjoy making your very own homemade Water Weenie, but you’ll also get to play with it afterward! Let’s dive in.
Materials Needed to Make Your Water Weenie DIY Project

Creating your own homemade Water Weenie requires just a few items that are easy to find at any hardware or craft store. These materials will make sure your water toy is durable and easy to play with.
Explore more about How to Make Yin Yang in Infinite Craft?
1. 5-foot Gym Resistance Tube
- Purpose: The tube is the main component of your Water Weenie. It will store the pressurized water that makes the toy work.
- Tip: Choose a high-quality resistance tube for extra durability. You’ll want one that’s flexible but sturdy enough to withstand the pressure without bursting.
2. Plastic Band or Clamp
- Purpose: This will help seal the ends of your tube, preventing water from leaking out.
- Tip: Use a plastic band or clamp that’s tight enough to form a waterproof seal, so water doesn’t escape. Secure one end completely before starting the filling process.
3. Sharp Knife or Cutter
- Purpose: You’ll need a sharp blade to cut the tube accurately to the desired length.
- Tip: Be careful when using the knife to ensure a clean cut. If the tube is frayed, it could weaken over time, so try to make as straight a cut as possible.
4. Hose Tube and Connector
- Purpose: The hose tube and connector allow you to fill the Water Weenie easily by connecting it to a water source.
- Tip: Make sure the connector is compatible with your hose and the resistance tube. This will make filling the Water Weenie faster and easier.
5. Nozzle (Optional)
- Purpose: A nozzle is optional, but it’s a great addition for controlling water flow and pressure.
- Tip: If you add a nozzle, you’ll have more control over the water squirting effect. This is ideal if you want to create a toy gun effect for extra fun.
6. Duct Tape
- Purpose: Duct tape is used to provide additional sealing and to decorate your Water Weenie.
- Tip: Use duct tape around the ends of the tube for extra reinforcement. You can also choose colorful tape to make the toy more visually appealing.
7. Food Coloring (Optional)
- Purpose: Adding food coloring to the water will give your Water Weenie a bright, vibrant look.
- Tip: Mix a few drops of food coloring into the water before filling the tube. Kids will love seeing the colored water, especially when it’s squirting out!
8. Glitter (Optional)
- Purpose: Glitter adds a sparkly, fun effect inside the tube, especially when it’s filled with water.
- Tip: If using glitter, add it directly into the tube or mix it with the water. This gives a shimmery effect when the Water Weenie is in action.
Step-by-Step Guide to Making a Water Weenie
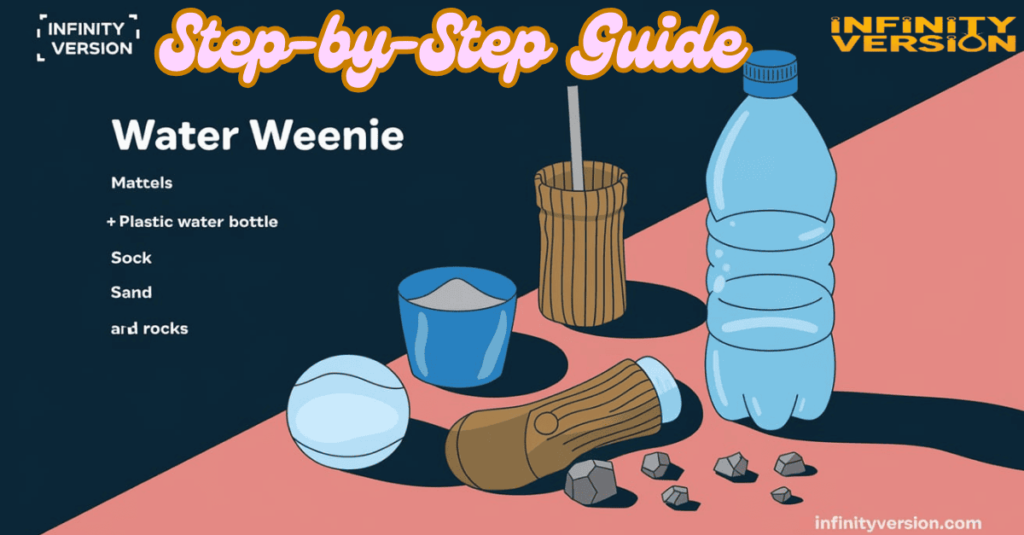
Follow these steps to create your very own homemade Water Weenie:
Cutting the Tube
To begin your DIY water toy, measure a 5-foot section of the resistance tubing. Use a sharp knife or cutter to slice through the tube smoothly. This size allows the Water Weenie to expand without breaking under the pressure of the water.
Securing One End
Next, you’ll need to seal one end of the tube. A plastic band or duct tape works well for creating a watertight seal. Wrap the tape tightly and make sure there are no gaps where water could leak. If you’re using a clamp, secure it firmly around the end of the tube.
Filling the Water Weenie
With one end sealed, attach the other end of the tube to a water source. Use the hose connector to ensure a snug fit. Start filling the tube, watching as it inflates with water. The Water Weenie’s shape will expand as you add more water, creating pressure inside.
Pro Tip: Don’t overfill! Leave a little room to prevent the tube from bursting.
Sealing and Testing
Once the Water Weenie is filled, seal the open end with a plastic band or clamp. Test it by gently squeezing to ensure no water leaks out. If everything is secure, your DIY water toy is ready!
Fun Ways to Play with Your Water Weenie
This Water Weenie DIY Project isn’t just about making the toy; it’s also about having a blast with it afterward! Here are some creative ways to enjoy your new water squirting toy:
- Water Tag: Use the Water Weenie as a toy gun in a fun game of tag.
- Water Balloon Alternative: Get the splash of a water balloon without the cleanup.
- Obstacle Course: Create a water-filled course with challenges where the Water Weenie plays a starring role.
With a bit of creativity, this toy can be the highlight of any warm day!
Variations and Customizations for Your Water Weenie
There are endless ways to personalize your homemade Water Weenie! Here are some exciting ideas:
Adding Color
Use food coloring in the water to make the tube vibrant and eye-catching. Kids will love watching the water change color as it flows inside.
Glitter and Patterns
Add glitter to the water for a sparkly effect, or wrap the outside with patterned duct tape to give it a unique look.
Adjusting Sizes
Experiment with different tube lengths to create various sizes of Water Weenies. Shorter tubes are great for younger kids, while longer tubes can provide an extra challenge.
Elemental Crafting Combination System
In crafting a Water Weenie, it’s helpful to understand how elements come together to create this kids’ craft project. This system of combinations highlights each step to make your DIY project easier to follow.
| Material | Function | DIY Combination Step |
|---|---|---|
| Resistance Tube | Base material; stores pressurized water | Step 1: Measure and cut to desired length |
| Plastic Band | Secures ends, prevents water leakage | Step 2: Wrap tightly around the tube ends |
| Hose Tube | Allows for filling with water | Step 3: Connect hose to tube |
| Hose Connector | Ensures tight fit with water source | Step 4: Fill slowly to create pressure |
| Nozzle (optional) | Controls water flow for better squirting | Optional: Attach to control flow |
| Food Coloring/Glitter | Adds visual appeal | Optional: Customize water color and sparkle |
By combining these elements step-by-step, you can craft a safe toy for kids that’s enjoyable to play with and easy to make!
Troubleshooting Common Issues

Even the best DIY projects can hit a few snags. Here’s how to troubleshoot some common problems with your Water Weenie:
- Water Leakage: If water is leaking from the ends, re-secure with more duct tape or a tighter plastic band.
- Pressure Problems: Overfilling can lead to pressure issues; leave a small amount of air in the tube.
- Durability Issues: Using high-quality resistance tubing reduces the risk of wear and tear.
By addressing these simple issues, you’ll ensure your Water Weenie DIY project lasts as long as possible.
You may also like these:
How To Make Panda In Infinite Craft?
How To Make Wave In Infinite Craft?
Frequently Asked Questions (FAQs)
Can I use a regular balloon instead of a tube?
Yes, but a balloon is less durable and more prone to breaking than a resistance tube.
How much water should I add to the Water Weenie?
Fill until the tube feels firm, but not so much that it risks bursting under pressure.
What age is this DIY project suitable for?
This project is ideal for kids ages 6 and up, with adult supervision.
Conclusion
Creating a Water Weenie is a simple, affordable, and fun DIY project that brings joy to kids and adults alike. By following this guide, you can craft a unique water squirting toy that’s perfect for warm weather play.
Enjoy experimenting with colors, sizes, and textures, and let your creativity shine as you bring your homemade Water Weenie to life!

Bella Bentley is an experienced blogger with a passion for exploring imaginary worlds and infinite creativity. With years of experience in storytelling, she brings depth and imagination to her posts on Infinity Version. Her writing captures the essence of fantasy, crafting immersive experiences for readers through her vivid descriptions and unique insights into the world of Infinity Craft.

